Remington HT2717A Owner's Manual Page 8
- Page / 40
- Table of contents
- TROUBLESHOOTING
- BOOKMARKS
- DUAL-ACTION 1
- ELECTRIC HEDGE TRIMMER 1
- Date Purchased: 4
- ________________ 4
- Where Purchased: 4
- WARNINGS 5
- SAVE THESE 6
- INSTRUCTIONS 6
- 2 product identication 7
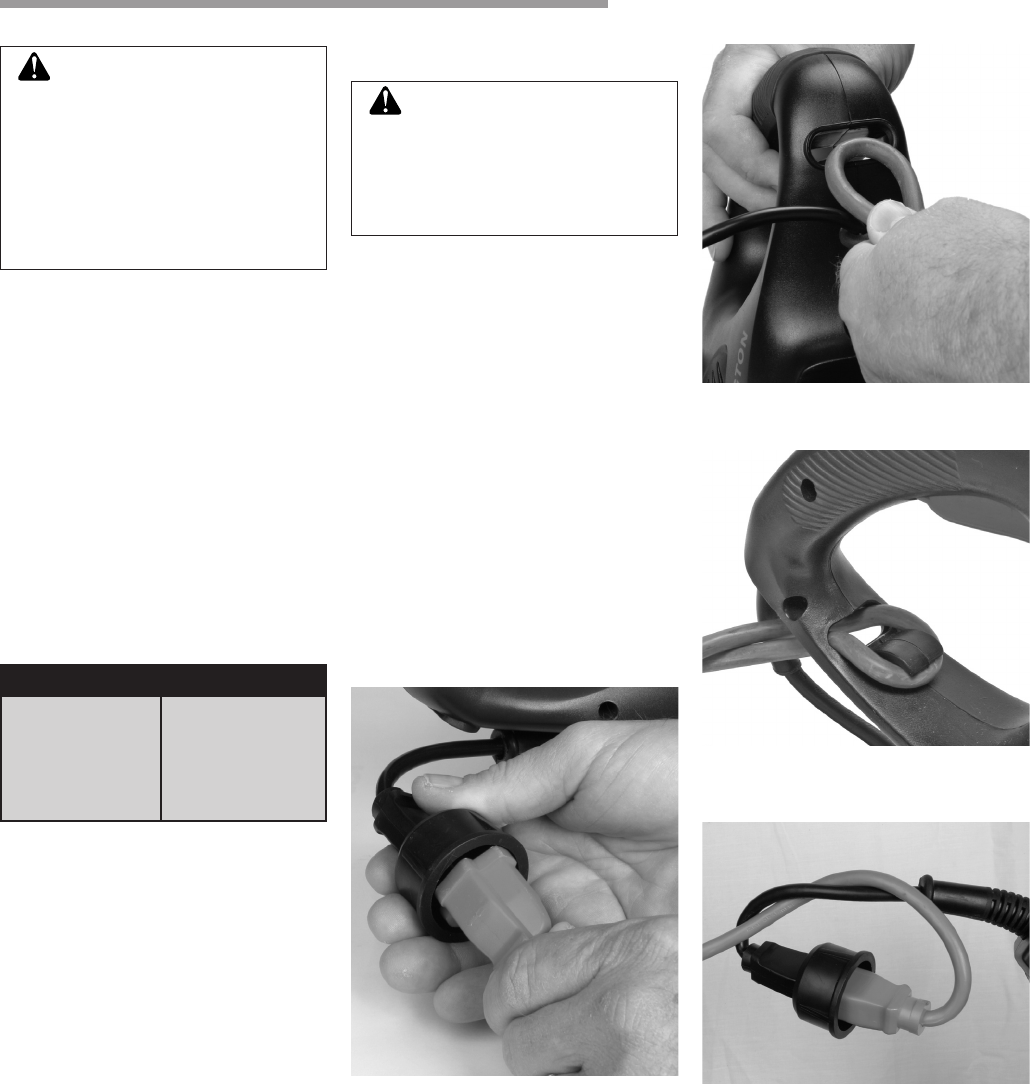
- 3 trimmer operation 8
- Starting the 9
- Hedge Trimmer 9
- Trimming a Hedge 10
- 4 trimmer maintenance 11
- 5 troubleshooting 12
- 6 warranty information 13
- PODADORA ELÉCTRICA DE BORDES 15
- DE DOBLE ACCIÓN 15
- SEGURIDAD 19
- ADVERTENCIAS DE 19
- GUARDE ESTAS 20
- INSTRUCCIONES 20
- Especicaciones 21
- 3 operación de la podadora 22
- Arranque de la 23
- Corte de un arbusto 24
- Limpieza y 25
- 5 análisis de averías 26
- GARANTÍAS LIMITADAS 27
- TAILLE-HAIE ÉLECTRIQUE 29
- À DOUBLE ACTION 29
- MISES EN GARDE DE 32
- SÉCURITÉ 32
- CONSERVEZ CES 33
- DIRECTIVES 33
- 2 identication du produit 34
- Rallonges électriques 35
- Démarrage du 36
- Taille d’une haie 37
- 4 entretien du taille-haie 38
- 5 dépannage 39
- GARANTIES LIMITÉES 40
Related products and manuals for Power hedge trimmers Remington HT2717A


 (16 pages)
© 2020, manymanuals.com. All rights reserved. | 2.373 s |
 Manymanuals.com
 Manymanuals.de
 Manymanuals.fr
 Manymanuals.it
 Manymanuals.pl
 Manymanuals.cz
 Manymanuals.es
 Manymanuals-pt.com
Comments to this Manuals