Remington 18A-212B783 Owner's Manual Page 17
- Page / 24
- Table of contents
- TROUBLESHOOTING
- BOOKMARKS
- Op e r a t O r ’s Ma n u a l 1
- To The Owner 2
- Children 3
- Slope Operation: 4
- Safety Symbols 6
- Assembly & Set-Up 8
- Cord Guide 9
- Grass Collection 10
- Side Discharge 10
- Mulching 11
- Charging the Battery 11
- Controls and Features 12
- Operation 13
- Using Side Discharge 14
- Using Grass Catcher 14
- Removing the Battery 14
- Using Your Lawn Mower 14
- Using as Mulcher 14
- General Recommendations 15
- Replacing Trail Shield 16
- Battery Care 16
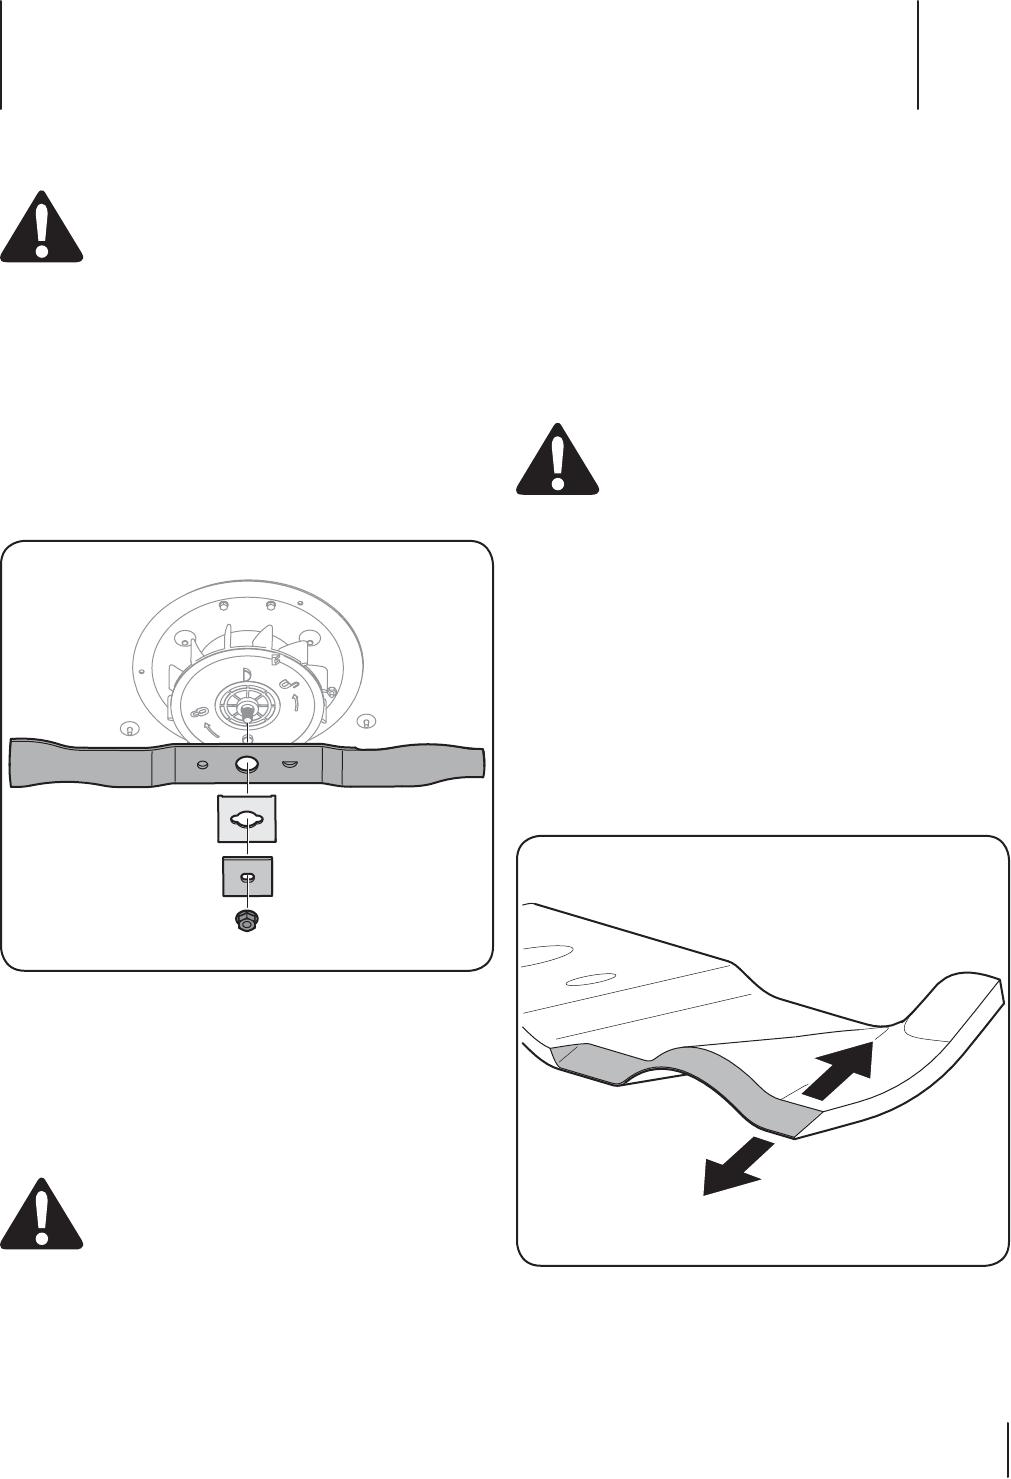
- Blade Care 17
- Off-Season Storage 18
- Troubleshooting 19
- Model 18A-212B 20
- 23se c t i O n 10 — nO t e s 23
- GDOC-100250 REV. A 24
© 2020, manymanuals.com. All rights reserved. | 1.078 s |
 Manymanuals.com
 Manymanuals.de
 Manymanuals.fr
 Manymanuals.it
 Manymanuals.pl
 Manymanuals.cz
 Manymanuals.es
 Manymanuals-pt.com
Comments to this Manuals